Global PyLadies Website#
Learn how to contribute to the Global PyLadies website.
Setup your Machine#
To make any changes, let’s setup your machine first.
Fork the pyladies/pyladies repository to your own (or your local PyLadies) GitHub account.
Locally clone your fork of the repository.
Create a new virtualenv. Within that virtualenv, run
pip install -r requirements.txt.
Adding your Location#
Nearly all locations are listed on our locations page. To get listed on there, you must put it there. :-)
Process#
Setup your machine following the Setup your Machine instructions above.
Within the
wwwdirectory, make an edit to theconfig.ymlfile. More about theconfig.ymlfile structure below.Optional: If you don’t have a website setup yet, you can make a simple static page within
www/locations/. Read Making a Simple Location Page for more information.Test your changes by running
mynt gen -f _site && mynt serve _site(within thewwwdirectory).Commit the code locally, and push it up to your fork.
Make a pull request against the
pyladies/pyladiesrepository.
config.yml File#
The config.yml file contains most (if not all) of the configuration for the main PyLadies website.
Editing#
To make your location show up on our locations page, create an entry under chapters.
Danger
Important!
Please - maintain alphabetical order of the chapters listing!!
Here are the available configuration items you can set, and what they mean/show up as on the locations page.
A complete example:
- name: Austin, TX
  meetup_id: 5947662
  website: atx.pyladies.com
  image: pyladies_atx.jpeg
  email: atx@pyladies.com
  twitter: pyladiesATX
  meetup: pyladies-atx
  location:
      latitude: 30.2711286
      longitude: -97.7436995
Make sure a tick, - precedes the name: attribute (in yaml syntax, it symbolizes another item in a list).
It shows up on the locations page as its own little “card”:
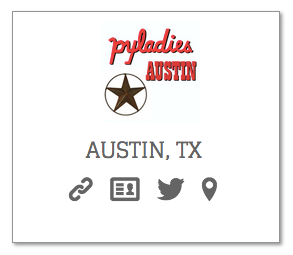
Attributes#
- name#
required The
nameattribute sets the name to show up on the [locations] page. You can as verbose or minimal as you’d like: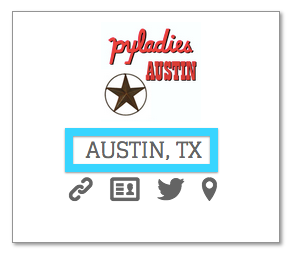
- meetup_id#
optional The
meetup_idactually corresponds to the Meetup Widget on the website. The code for the Meetup Widget can be found here.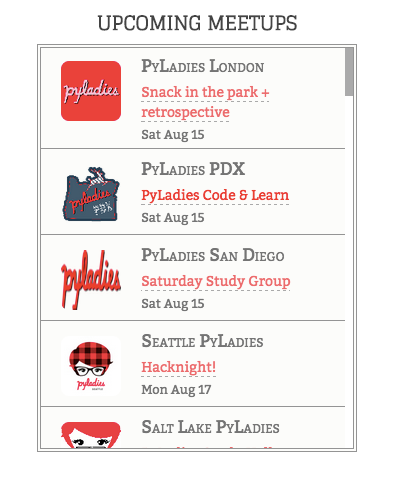
- website#
optional The
websiteattribute is the absolute URL for the location’s website, or the relative URL for your location’s page (e.g.atxforpyladies.com/locations/atx).Note
If it is an absolute URL - e.g. it is not relative to the pyladies.com domain (e.g.
pyladies.com/locations/atx) but is a subdomain (e.g.atx.pyladies.com), theexternal_websiteattribute needs to be set toTrue.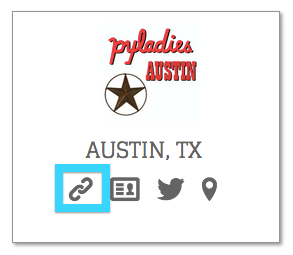
- external_website#
required if location has a subdomain A boolean flag (if not set, will default to
False) for when the location has a subdomain.
- image#
required The
imageattribute is the filename of the location’s image that should be placed in thewww/_assets/images/directory. You can use a standard one that’s already in the repository, or adapt the logo to your location (see Swag, Logo Use, and Adaptation).
- email#
required The
emailattribute is the location’s email address.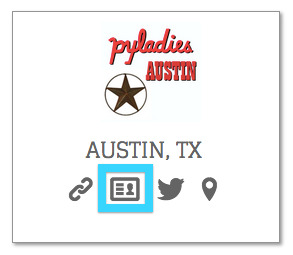
- twitter#
- github#
- facebook#
- google_plus#
optional The
twitter,facebook,google_plus, andgithubattributes are links to the location’s handle/account. You may set as many as you’d like, or none. If your group uses other social media accounts that you want to publish, please read Adding New Link Types.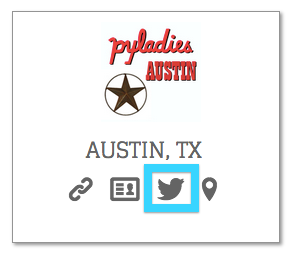
- meetup#
optional The
meetupis the Meetup group’s URL name - the string that comes afterwww.meetup.com/. If your group uses a different service than Meetup.com for event publishing (other than your own location’s website), please read Adding New Link Types.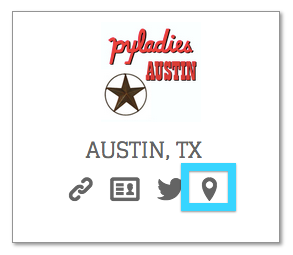
- location#
required The
locationattribute is a map oflatitudeandlongitude. If this is set, it will add a pinpoint to the map at the top of the page. It will automatically pull in all the information, too.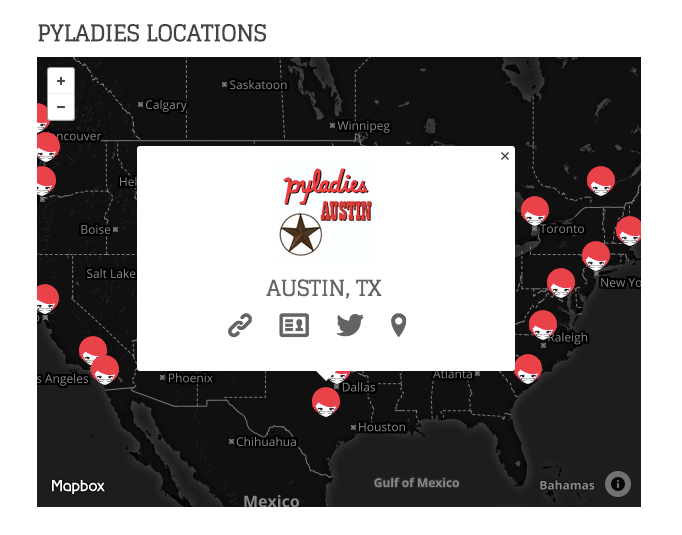
Adding New Link Types#
If your location uses other social media accounts other than Twitter, Facebook, or GitHub (e.g. WeChat, Tumblr, LinkedIn, Instagram, vkontakte, Renren, Mixi, whatever), or uses a different event publishing site/medium than Meetup.com (e.g. EventBrite), you’re definitely able to publish that.
Tip
Perhaps someone already has done the legwork to add an attribute for your particular site (and these docs aren’t updated). Save yourself some time and check the www/config.yml. You may only have to edit the config file then!
Step 1: Pick a Config Attribute#
We’ll do a full example. Let’s say that Twitter was not already there, and we wanted to add it.
We should start by picking a good config attribute (similar to the Attributes above). A good config attribute here would be simply twitter:
- name: A New PyLadies City, Foo
  twitter:  twitter.com/foo-pyladies
Step 2: Pick an Icon#
We currently already use entypo. If you find an icon that you’d like to use that entypo already has, take note of its name. You can do this by right-clicking the icon you like on the entypo site and select “Inspect Element” to see the name of it:
The icon name here would be twitter (not including the .svg or images/).#
If entypo doesn’t have an icon that matches your social network, or that you like, read on to Adding non-Entypo Icons.
Note
All the entypo icons (e.g. the actual pictures/fonts) are already in the PyLadies repository.
Step 3: Add Icon to HTML Template#
Next, in your text editor, open up the location’s template file, www/locations/index.html. Then, where it says <h3 class="chpts social-icons"> add the Jinja template information.
The following example uses the above twitter icon previously selected:
{% if chapter.twitter %}
    <a href="{{ chapter.twitter }}" title="Twitter Link"><i class="twitter"></i></a>
{% endif %}
The {% if chapter.twitter %} checks to see if there’s a config attribute set for a chapter, and if it is, it will create a link using the value that is set.
Notice <i class="twitter"></i> - this will actually put the icon (named twitter, which we figured out in the previous step) there, and make a link.
Step 4: Add your Config, Commit, & Push!#
Save your edits, and test to see if it looks okay (refer to Using mynt for how to test your changes).
If all looks good, then commit, push to your fork of the PyLadies repository, then submit a pull request!
Adding non-Entypo Icons#
If your icon isn’t made by entypo, you don’t like any of them, or found an icon elsewhere (e.g. FontAwesome), follow their instructions for setting up their icons.
You still must follow Step 3: Add Icon to HTML Template for the icon to show up in the template. The Jinja2 syntax is the same (e.g. {% if chapter.twitter %} or {{ chapter.twitter }}), but the HTML to represent the icon itself may be different. Again, refer to their particular instructions.
Making a Simple Location Page#
Don’t have time to make your own local website? Not a problem - if you have a few minutes, you can make a simple “place holder” page.
For the sake of having an example, let’s say our new location is “Foo City”
Create a directory within
www/locationsnamed after your location (this will be your URL path - e.g.www.pyladies.com/locations/foo).Create a new
index.htmlwithin the directory you just created.Copy & edit the following HTML/Jinja template to the
index.htmlfile.
{% extends "site.html" %}
{% block title %}PyLadies Foo City{% endblock %}
{% block content %}
<section id="archive">
<h1>PyLadies Foo City</h1>
<article>
<ul class="social">
<aside>
<h4><a href="{{ get_url("locations/foo") }}">Foo City</a> | <a class="social icon vcard" data-icon="" href="mailto:foocity@pyladies.com" title"Contact"></a><a class="social icon twitter" data-icon="" title="Twitter" href="https://twitter.com/pyladies_foo"></a><a class="social icon location" data-icon="" title="Meetup Link" href="http://www.meetup.com/pyladies-foo"></a></h4>
</aside>
</ul>
</article>
</section>
{% endblock %}
Once your done, test how it looks (refer to Using mynt to see how). Then commit your code, push to your fork of the repository, then open a pull request! You can see what others have done within the www/locations directory as well.
Blogging or Writing a Resource for the Main Website#
Want to write a blog post, or cross-post from your blog to PyLadies? Or perhaps you wrote an awesome resource about how to get the most out of your favorite text editor, or how to setup your development environment for Django? Fantastic!
Making a Blog Post#
We accept posts (from anyone!) for the PyLadies blog. Here is a guest post that you should read as samples of what we’re looking for: Get the Most Out of Your Conference-Going Experience.
Topics#
We’re looking for posts about Python and the ladies doing cool things with it. Our audience includes both experts and newer programmers. If you’re writing a more expert level post, consider pointing newer programmers to resources to get started with.
Attention
We reserve the right to decline posts, or work to improve the work of the post.
Attribution#
Cite your sources! Either link to them in your post, or the old-fashioned academic Chicago MLA style of “quoting someone’s work”(FooPyLady) with an entry for “FooPyLady” at the bottom of your post (or any other MLA styling).
Also Please include whether:
You want to be noted as the author
If so, what name you want to use
If we can link to you somehow, either through Twitter handle, email, or website.
Anonymous submissions are fine.
Length#
Posts should be 500 words in length. If your post is much longer (thousands of words), consider whether it could be broken into two connected posts.
Images#
If you wish to include images, they must be 500 pixels wide or less. You must own the images you’re submitting, or they must be available under a Creative Commons license.
The Markdown syntax is a bit limiting when wanting to add style to the image. Therefore, if you want to add style to it (e.g. different alignment than default, add a border, rounded corners, etc.) then just write plain HTML inside your Markdown document.
<img src="{{ get_asset('images/foo.png') }}" width="400" class="my-foo-image" style="any extra styling"/>
Formatting the Blog Post File#
Write your guest post in Markdown and save it in the
www/_postsdirectory.Suggestion #1: Mou.app for mac is created for Markdown - gives you a preview while you write
Suggestion #2: dillinger is a web app that provides a live preview when you’re writing in Markdown.
A cheatsheet for Markdown commands.
The very top of the blog post needs the following (including the three dashes before and after the layout/title/tags):
---
layout: post.html
title: "Your title here"
tags: [list, of relevant, tags]
author: Name, or blank/none
author_link: Twitter/Blog/etc or blank/none
---
Process#
Setup your machine by following the Setup your Machine instructions .
Save the file in
www/_posts.Test your changes locally. Start up mynt as per the instructions below.
Make sure that your changes look good, and that there are no errors or formatting issues. If you find problems, stop mynt, make the changes, restart, and check the site again.
Commit your changes, and push to your fork of the pyladies/pyladies repository.
Create a pull request against the pyladies/pyladies repo.
When you submit a pull request, everyone with commit access for Pyladies will see it. You may also ping the organizers list for more eyes to review.
Writing a Resource#
If you want to write your own resources, like Barbara’s beginner workshop notes or Juliana’s Mac setup, in addition to the headers for blogging, you will need to add more items in the header portion, like so:
---
layout: post.html
title: "Your title here"
tags: [list, of relevant, tags]
author: Name, or blank/none
author_link: Twitter/Blog/etc or blank/none
category: [resources, pyladies]
---
Notice that pyladies and resources are required in for category.
Once done, save it in www/_posts/ with the date and title in the name of the file, like so: 2013-04-21-lynns-awesome-resource.md. The title portion of the filename, lynns-awesome-resource, will end up being the URL of the post, e.g. pyladies.com/blog/lynns-awesome-resource.
Developing the Main Website#
Is there some CSS inconsistency that’s bugging you? Is the site missing some accessibility? Want to add a new page or content? Cool! Here’s how to get started.
Note
When changing the website or adding content - beyond adding your location information - it is a good idea to email the organizers list to ask for others’ feedback on your ideas, either before you start developing, or when you make the pull request.
Current Layout#
The website lives in the pyladies/pyladies, as well as many locations’ websites, where www is the main website, and the other directories map to subdomains, more or less.
The website consists of just static HTML, CSS, and some client-side JavaScript. We use mynt to convert Markdown files into HTML files (using Jinja2 templates).
The general layout for the www directory:
.
├── _assets        # JavaScript, images/logos, fonts, and CSS stuff goes here
├── _posts         # these are the blog posts written in markdown
├── _templates     # these are the base templates that other things use.
├── about/         # any directory maps to a URL path, e.g. www.pyladies.com/about,
├── archives/      #     and contains its HTML Jinja template
├── blog/
├── CodeOfConduct/
├── config.yml     # configuration for the overall site
├── feed.xml       # RSS feed that is automatically generated
├── index.html     # HTML Jinja template for the main page, www.pyladies.com
├── locations/
├── resources/
└── sponsor/
When you first run mynt (detailed below), it will also create a _site directory, where the complete site will be living. This _site directory is not committed within the repository.
Note
The HTML files here are just templates. You must first run mynt gen -f _site (detailed below) to generate the HTML to see what will be on the website.
Using mynt#
Attention
As of December 2023, we’re considering moving from mynt to Hugo. If you want to help with this effort, drop a note in the #project-tech-info PyLadies Slack channel.
mynt is a simple static site generator written in Python.
When you’ve added or edited content in any way, you can check out your changes by running the website locally. To do so:
Set up your machine following the Setup your Machine instructions.
With the activated virtualenv, make sure you’re in the
wwwdirectory, then run:(env) $ mynt gen -f _site (env) $ mynt serve _site
Copy the IP address provided once mynt has completed building the site. (It will say something like
>> Serving at 127.0.0.1:8080), then paste the IP address into the URL bar of a browser window and load it to view the site.To view any changes you make to the site code, type
CTRL+c(at the same time) in the terminal to stop the local server, then run the twomyntcommands from Step 2 again and refresh the browser window.
Tip
If you wish to run the mynt server (aka mynt serve _site) on a different port, use the -p option: mynt serve _site -p 5050.
The mynt gen -f _site “compiles” the Markdown files into the Jinja2 template files (and does some other linking magic for CSS, JavaScript, images, fonts, etc) and spits out the output into the _site directory. This is actually what gets deployed (but is not committed to the repo!).
The mynt serve _site command runs a simple HTTP server for you to view local changes.
Tip
If you are having to stop the server, make your changes, run the two mynt commands many times, try the following:
Have two terminal windows/spaces open.
In one terminal window/space:
Move to the
wwwdirectory, and then runmynt gen -f _site(with your activated virtualenv) just once.Then run
mynt watch -f _site- mynt will then watch for any changes saved to the file and re-runmynt gen -f _sitefor you.
In the other terminal window/space:
Move into the
www/_sitedirectory.If running Python 2.x, run
python -m SimpleHTTPServer 8080(or whatever port you’d like)If running Python 3.x - to be honest, not sure if mynt supports running on Python 3, but if it does - run
python -m http.server 8080
Now whatever changes you make & save, you’ll just have to refresh your browser.